What's
New


Strawberry Jelly Cheesecake
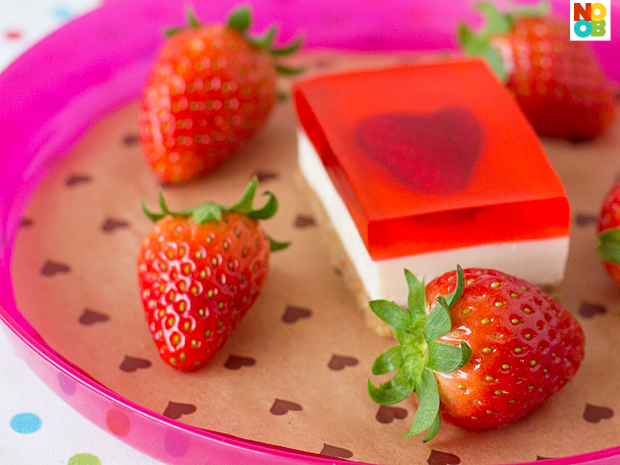
This is a no-bake recipe for cheesecake with strawberry jelly and it is just perfect for Valentine’s Day. The strawberry jelly hearts are so pretty to look at with the heart-shaped strawberries, off-white cheese and red jelly.
See Also:
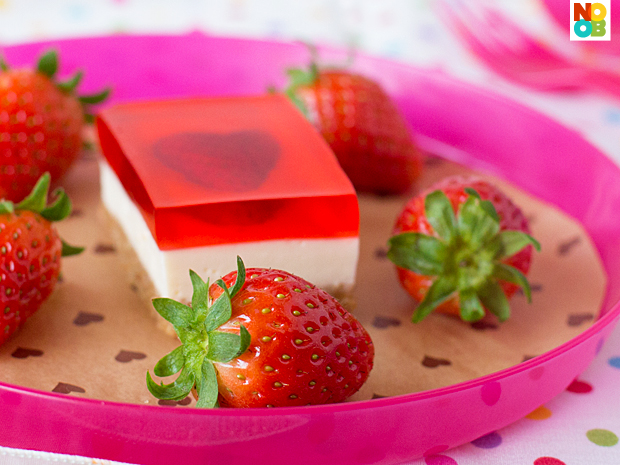
Once the cake is chilled and set, I cut them into serving squares, where I keep in an airtight container for several days in the fridge. They are ready to serve as an after-dinner dessert or tea break. I love that it is not overly cheesy or sweet.
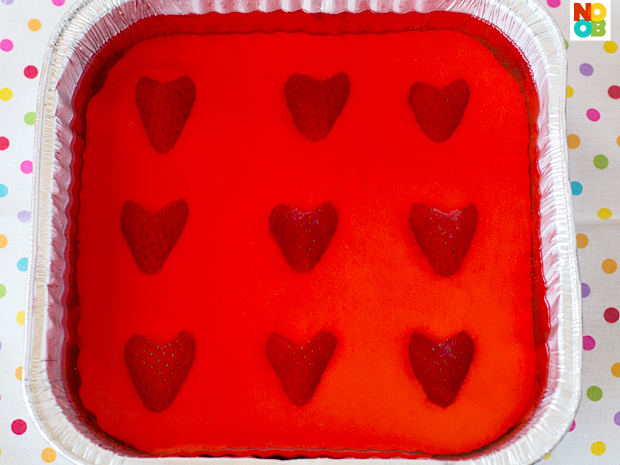
I was introduced to this dessert after my friend Jac brought it to one of our friends’ gathering. The recipe was taken from Bing Cooks which came with detailed, step-by-step photos. I halved the original recipe proportions and used a disposable party tray measuring 20 x 20 cm (8 x 8 in) as shown above, yielding 9 strawberry heart pieces after cutting. You can use a slightly bigger or smaller tray, make and serve them in individual ramekins instead, or space out the strawberries differently from me.
I made the biscuit layer the night before and chill overnight; the morning after I make the cheesecake layer, let it set in the fridge; at night I make the jelly layer to chill overnight. Spreading out my effort like that, each step does not take up much time or effort on my part. In this way, I free the actual day to simply cut and store the cheesecake.


Hi :) I’m looking at the Layer B (cheesecake layer) and I’m wondering if it will be too cheesy? It’s essentially just eating cream cheese on top of a digestive biscuit base no? Will it be better if I add some cream/whipped cream?
Thank you!
Hope to receive your reply soon! Planning to start on my layer B in 3 hours time. My layer A is chilling in the fridge already hahahha!
Hi! Just follow the recipe at the first try :) I have made it many times and it is not too cheesy. If you add whipped cream, it might change the consistency of layer B, and it may not firm up well, which might affect layer C (the jelly).
Hi can I put in the freezer instead of the fridge to cut short the chilling time?
Use the fridge as it will give the correct texture.
hi, ur receipe is awesome. However, just want to check with u how to make the biscuits in sticking with the cream cheese. mine just don’t go as a whole cake. thanks.
allow time for the biscuit layer to set in the fridge (at least an hour), and don’t forget to prick holes all over the biscuit base (step B4) before pouring the cheese layer.
Hi, may I ask which brand of gelatin to buy ? Thanks !
I used the “Bake King” brand. You can buy it from Phoon Huat or supermarkets. The brand is not important though, any type of gelatin from the baking section will do the job.
Which brand of biscuits to make the base?
any brand will do. I think I used McVitie’s
Hi may i know what is dissolved gelatine
gelatine is in powder form, you need to dissolve it in hot water (step B1)
Hi, I couldn’t find the disposable alumimium tray 20×20 cm. Do you have any idea where to buy or any alternative on this? Thanks!
(Joyce)
Hi Joyce, I got mine from NTUC. You can find from most supermarkets and SKP. The size can vary a bit just estimate.
Thanks. I bought it from ntuc. So far, I have made two strawberry jelly cheesecake. My son made the second one. Many thanks! Have a wonderful Friday. !
3/4 cup of hot water i really have to use a cup to do it or is there other measurement for the water?7
It’s 175ml, I have updated the recipe thanks.
Hi! Awesome recipe!
Tried it for the first time and it tastes delicious. Thanks for putting the link to the original recipe too! It was more detailed.
However, my jelly part melts really quickly after i take it out for maybe 10mins? May i know if i am doing anything wrong? Followed the recipe exactly and used the JELL-O brand for the jelly
Thanks for the recipe. :)