What's
New


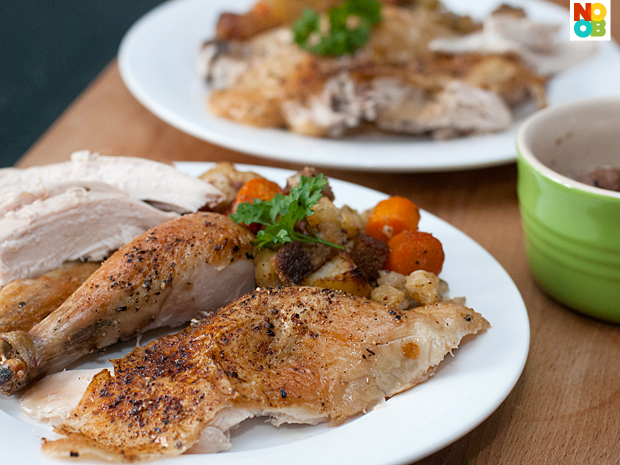
Roast Chicken with Stuffing
Check Out: Easy Roast Chicken Recipe
I love Christmas as it’s the time when our supermarkets stock festive ingredients only during this season, such as stuffing mix (seasoned bread cubes) for making traditional stuffed roasted poultry. In this recipe, the combination of roasted chicken with cubed bread stuffing and potatoes looked and tasted deliciously rustic.
Printable Recipe |
Step-by-Step |
 |
Stuffing mix is essentially cubed bread with herbs and spices. You can use any brand. |
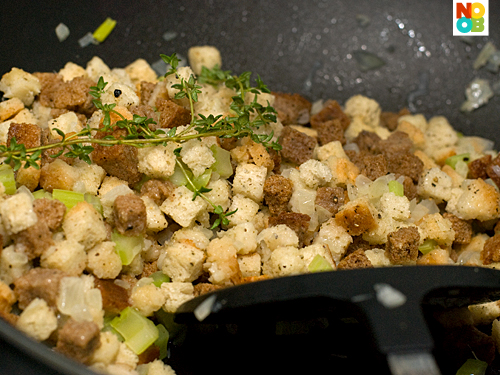 |
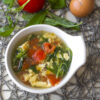
Prepare stuffing by melting some butter in a pan and cooking the celery and onions on low heat. Add chicken broth, bring to a simmer. Add stuffing mix, thyme and garlic, lightly coating the bread cubes with the broth. Allow to cool. |
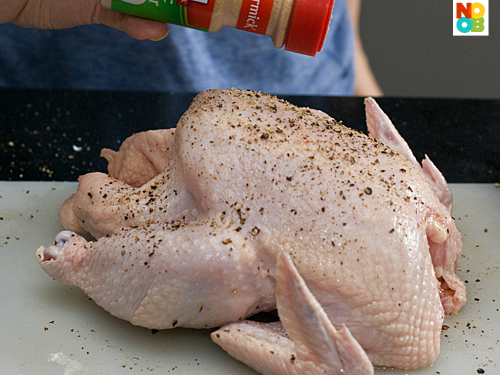 |
Brush olive oil evenly all over the chicken. Season with salt rub, freshly cracked black pepper and garlic powder. |
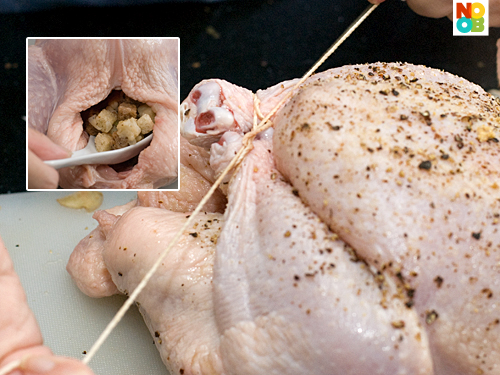 |
Truss the chicken by tying the chicken thighs together with kitchen twine. Loosely fill (to allow room for the stuffing to expand during roasting) the cavity of the chicken with cooked stuffing mix. |
 |
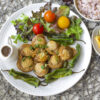
In a roasting tray, coat potatoes and carrots in olive oil (about 1 tbsp) and season with sea salt and black pepper. Arrange one layer on roasting tray. Add thyme, garlic cloves, bay leaves and lemon. |
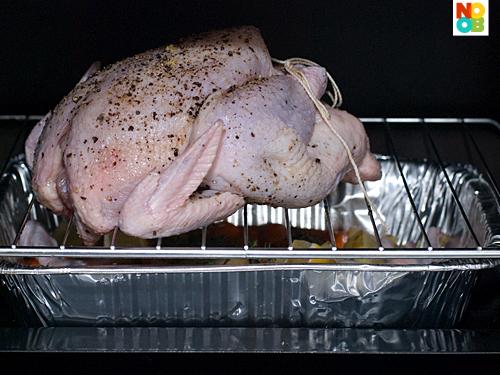 |
Place chicken on a higher wire rack in the oven, with the roasted vegetables tray beneath it to catch the chicken juices. If you don’t have a wire rack you can prop the chicken on top of the vegetables in the tray. Roast chicken with vegetables tray beneath it in preheated oven of 220°C (428°F) for half hour. |
 |
Take the chicken out and baste it with olive oil all over the chicken skin. Return chicken to the wire rack in oven and bake for another 20 minute at 220°C (428°F) and after that, baste chicken once more with olive oil. |
 |
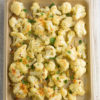
Add the remaining stuffing mix to the vegetables tray and mix well. Roast chicken and vegetables at 200°C (392°F) for 20 minutes, or until the chicken is cooked. |
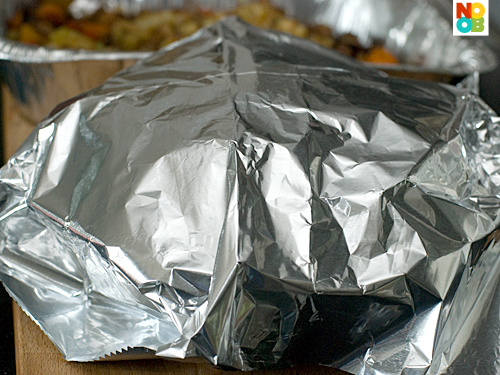 |
Cover roasted chicken with aluminium foil and allow it to relax for at least 5 minutes or more before carving. |
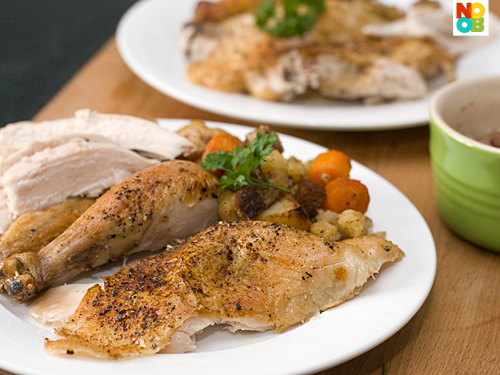 |
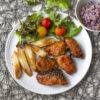
Serve dinner plate with roast chicken, roasted stuffing and vegetables and not forgetting the crispy chicken skin. |
Pages: 1 2


WOW! The chicken looks so nicely roasted and I love the stuffing. BTW what is the size of the chicken?
this was one medium size … u know NTUC, the sakura brand ;)
Do you flip the chicken to bake again after 20mins and a new coat of olive oil?
What do you mean by “flip”?
after basting with olive oil, yes return to oven to bake.
Oh i meant to turn the chicken upside down to roast the other side.
oic! Nope I did not do so …
I actually like the chestnut stuffing for the braised duck in some Teochew restaurants in Singapore.
I can’t resist this delicious looking stuffed chicken. This is great for Christmas dinner!
you always have the most delicious roasted chicken!!!
YUMMY! As festive as this roasted chicken is, I can have this anytime hehe
Yum…roast chicken is our all-time favourite. Even in summer, we’d crave it, then pop one in oven. Enjoy the moist and juicy chicken meat together with delicious veggies. Your step-by-step pictures are very professional. Great job.
Oooouuu!
For a while i thought it was a turkey! Heeeee. Your chicken really XL size!
Gorgeous roast ;)
My galfriend taught me a tip you might wish to consider:
– make slits just under the skin (I do that from the bottom opening) and insert knobs of butter in between (you can use homemade garlic butter) and *rub*, focus mainly on the breast areas.
That way, you can save the oil brushing mid-way and the meat will still be soft and tender.
hi emy thanks for sharing … yup I did try that method before https://noobcook.com/roast-chicken-with-garlic-lemon-and-thyme/ but even with that, I still like to baste the chicken … and nowadays too lazy & just skip the step of stuffing butter underneath the skin :P
A beautifully roasted stuffed bird. Thanks for the step by step instructions.