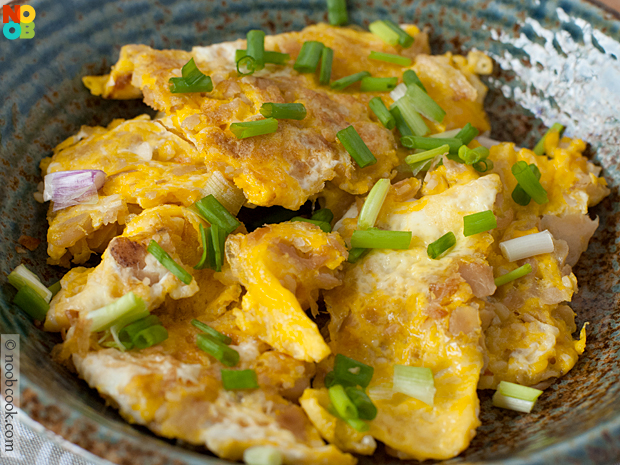
Preserved Turnip Omelette (Chai Po Neng)

Get this recipe on the next page >>
This Chinese-style preserved turnip (preserved/salted radish) omelette or better known as chai po neng locally is another humble, childhood favourite often cooked by my mum. It goes so well with porridge. As with most of my mum’s recipes, the ingredients are minimum (just preserved turnip, eggs and garlic) yet so delicious; best of all it’s like an evergreen classic for I never get sick of eating it all these years.
See Also:
My mum does not always wash the preserved turnip (chai po) before cooking, but I prefer to do so to get rid of excess saltiness or any dirt (highly recommended by the market uncle who sold me the chai po). Unlike my mum’s long bean omelette and fish cake omelette which is seasoned by salt &/or soy sauce, there is usually no need to salt this omelette at all as the chai po is already very salty.
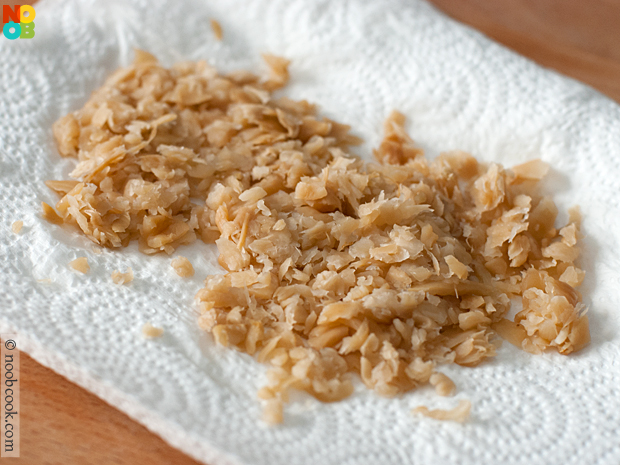
Pat washed preserved turnip on paper towels and allow to air dry for about 30 minutes (Step 1).

Preserved Turnip Omelette Recipe
After rinsing and drying the (preserved turnip) chai po, taste test a piece to check if it is salty enough for your taste bud; if not, season the egg with a tiny bit of salt or light soy sauce.
Ingredients:
- 50 grams preserved turnip/ salted radish (chai po)
- 1 tbsp cooking oil
- 2 eggs beaten
- 5 garlic cloves minced
- 1 tbsp chopped spring onions
Directions:
- Prep the preserved turnip by washing & rinsing it in two rounds of water (the second round of water should be relatively clear). Drain the preserved turnip, gather on palm and squeeze to get rid of excess water. Pat dry on paper towels and allow to air dry for about 30 minutes.
- Heat oil in wok, stir fry garlic for about 30 seconds. Add preserved turnip and stir fry for 2 minutes. Use your spatula to arrange them into one flat layer in wok.
- Pour beaten egg over the chai po. Gently tilt the wok to ensure all the chai po are well coated in the egg. Cook a few minutes on one side until dry and lightly browned, then flip to the other side and do the same. Garnish with chopped spring onions.
Noob Cook Tips
- Don’t worry if the omelette breaks apart when you are flipping, in fact, you can use this chance to break it up to several, smaller serving sizes.
- There are two types of preserved turnip – sweet and salty. You can use either type, or a combination of both. My family used the salty type for this recipe.