Pineapple Tarts
First posted in Jan 2009, updated with new recipe & photos in Jan 2014.
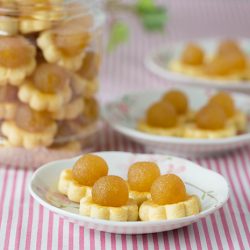
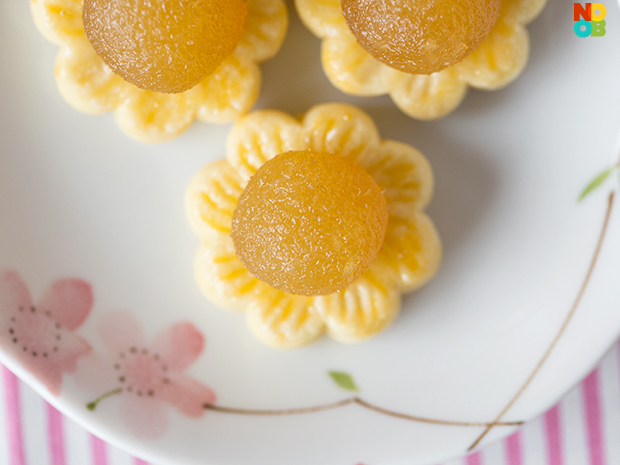
With Chinese New Year (CNY) slightly less than a month away (19 Feb 2015), have you started your CNY baking? To me, pineapple tarts (黄梨酥) are the most representative snack of the festive CNY season, so if I can only bake one item, that will definitely be pineapple tarts. They are so popular because the pineapple, pronounced as “ong lai” in dialect, sound as auspicious as they are delicious. They also have a golden finish which signifies wealth and prosperity. I think they look like a very pretty and cheerful sunflower. This is a recipe for open-faced pineapple tarts.
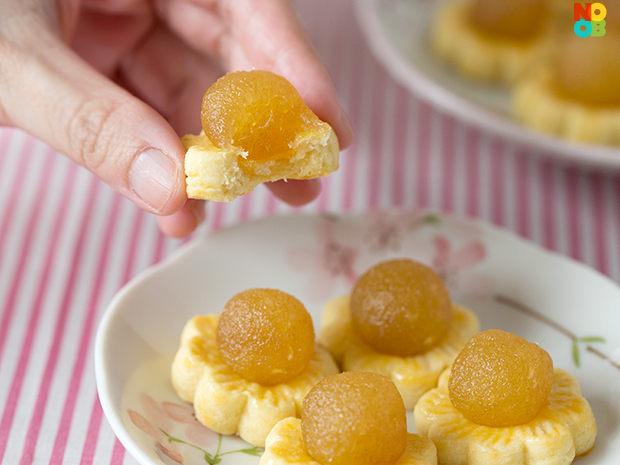
I wasn’t satisfied with the old recipe put up in 2009, and I am glad to update my blog in 2015 with a much improved and better-tasting pineapple tart recipe, complete with practical tips and detailed step-by-step photos (thanks to the SO for taking them). We tried and tweaked several recipes before arriving at this version. This is an easy recipe which does not require any mixer. The tart pastry is crumbly and buttery.
See Also:
I used store-bought pineapple tart jam from Kwong Cheong Thye (not so sweet). You can also buy them from Phoon Huat (sweeter than Kwong Cheong Thye) or the local supermarkets. I hope that in the near future, I can find the energy to make my own pineapple tart jam from scratch (used to make them as a kid and it was such hard work to grate the pineapples).
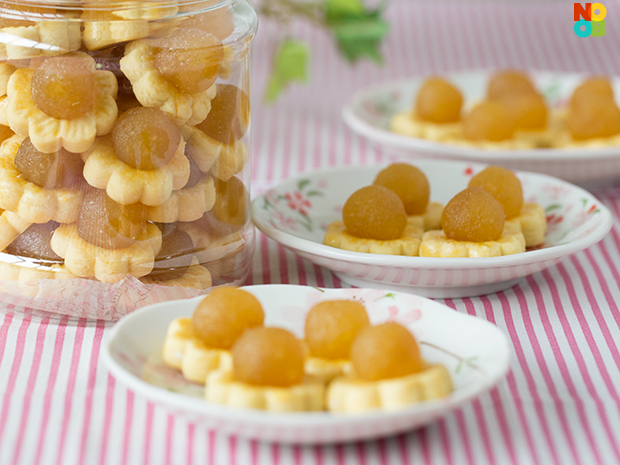
Step-by-Step Photos (Pineapple Tarts)
Note: Measurements are at the Printable Recipe
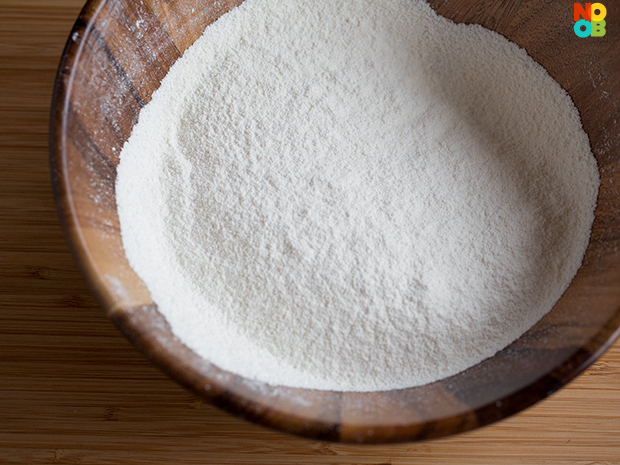
In a large bowl, sift in flour, corn flour and salt.
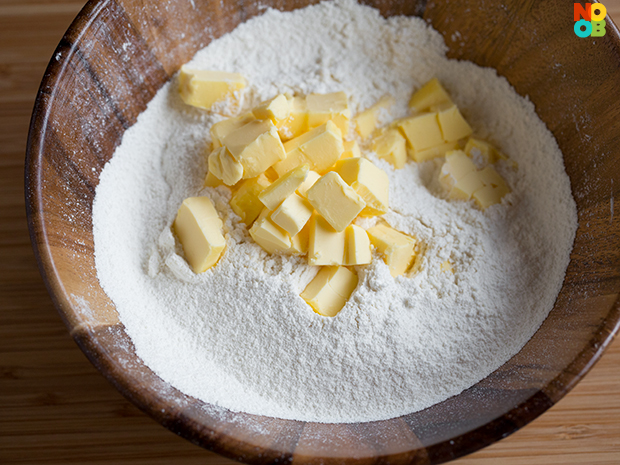
Add cold, cubed butter.
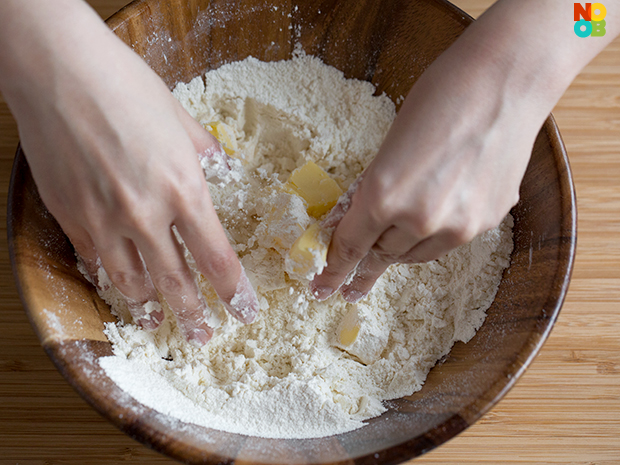
Rub the butter (fats) into the flour using your fingertips.
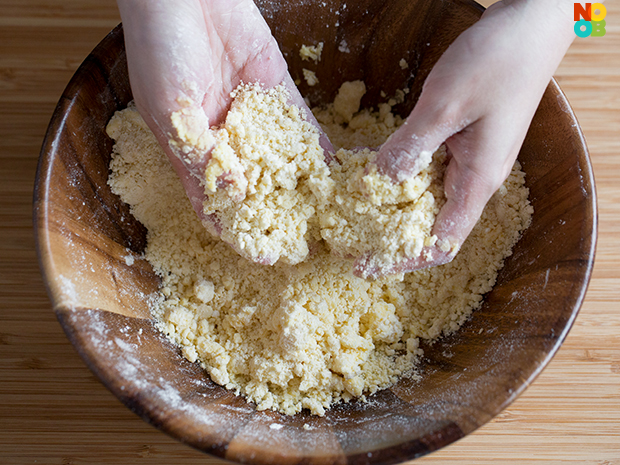
Do so until they resemble coarse bread crumbs as shown.
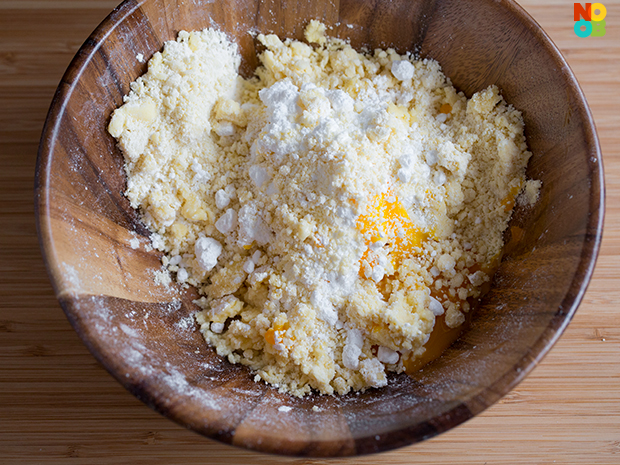
Add egg yolk, icing sugar and cold water.
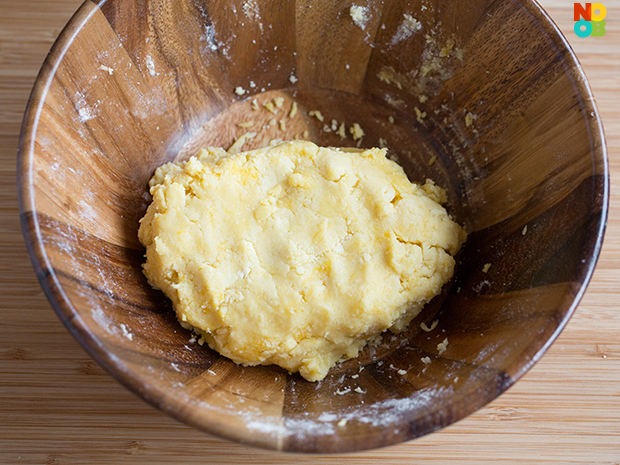
Gently knead the dough until it comes together. Do not overknead. As seen from the photo, the dough is not completely smooth and there are specks of butter. That is all right.
Tip: Add a bit more flour if the dough is sticky. Add a bit of cold water (1/2 tbsp at a time) if the dough is too dry.
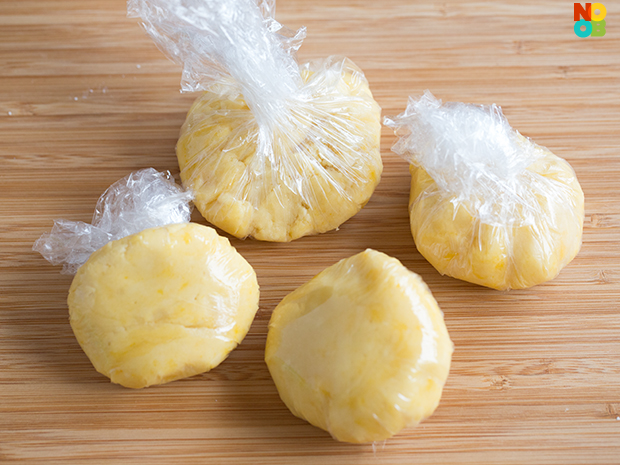
Divide the dough into four small portions, wrapped in cling film and refrigerated for 30 minutes for the dough to firm up slightly, so that it is easier to roll and work with later.
Tip: Work on a small portion of dough each time, so that they are always cold and easier to handle.
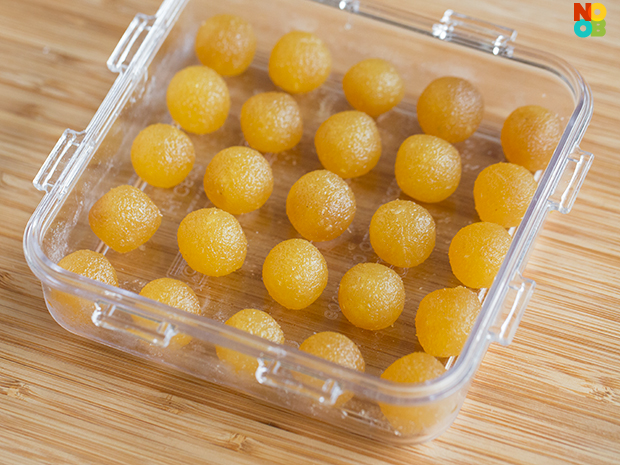
While waiting for the dough to chill, weigh and measure pineapple tart jam to 6 grams balls.
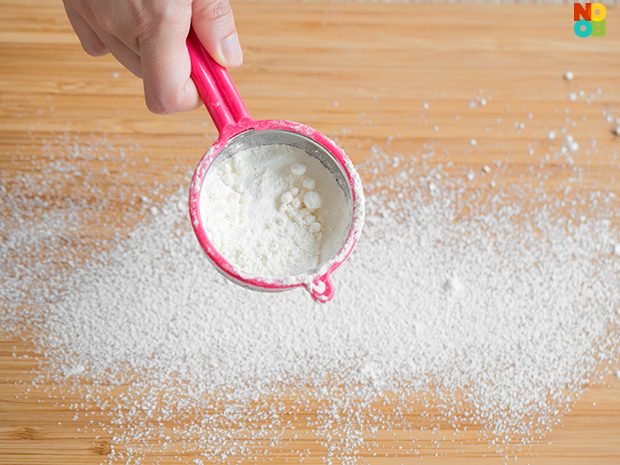
Prepare work surface and dust it with flour.
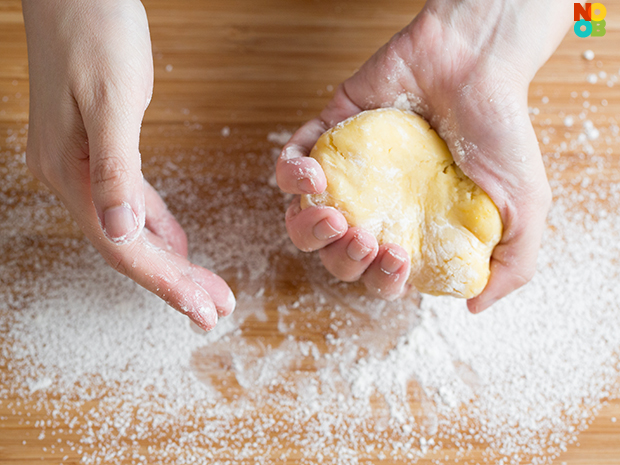
Take out one portion of dough from the fridge. Use small amount of flour, if required, and knead it slightly such that it is no longer sticky yet not dry.
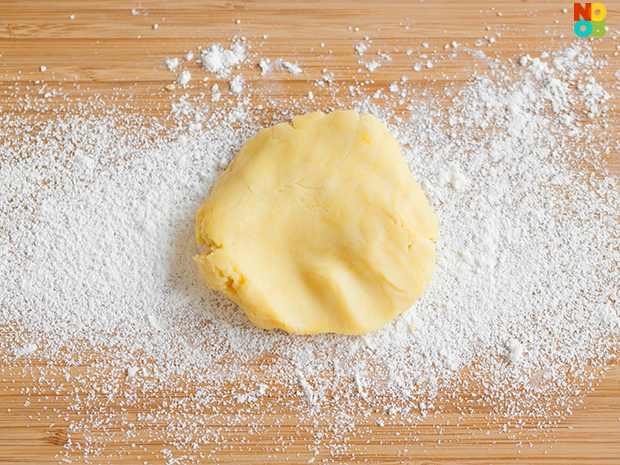
This is the correct texture of the pastry dough. You should be able to imprint easily as shown.
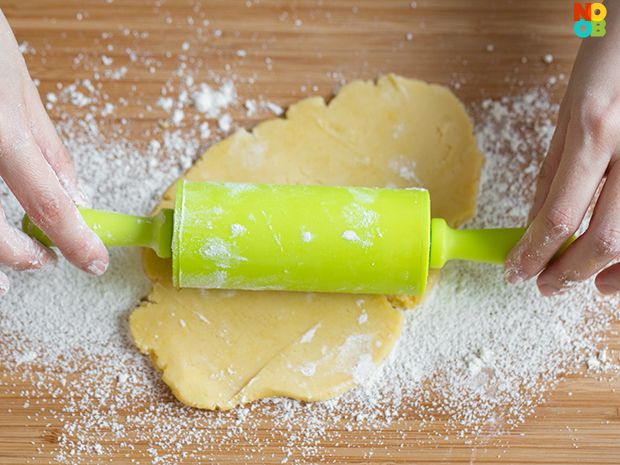
Coat rolling pin with flour. Using quick and short strokes, roll the dough to 7mm thickness.
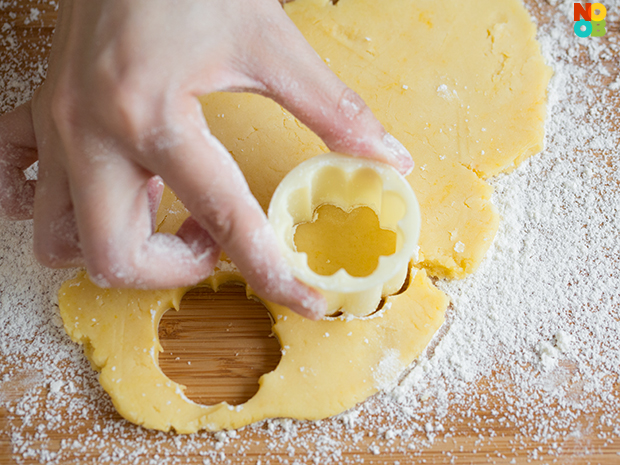
Use pineapple tart mould (cookie cutter) to cut out the shape of the tart.
Tip: Twist it around a bit to get a defined and precise cut.
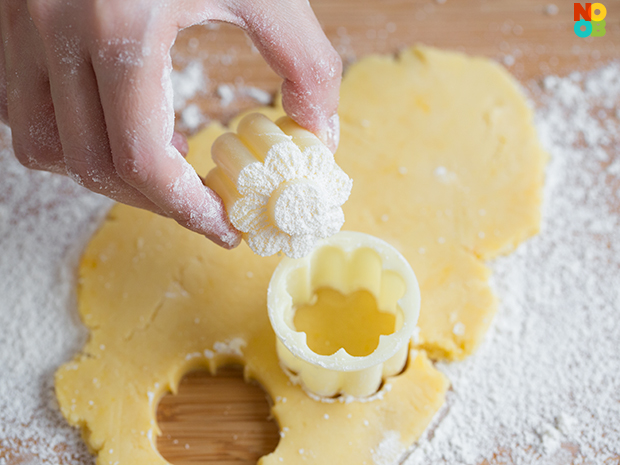
Dust inner mould with liberal amounts of flour.
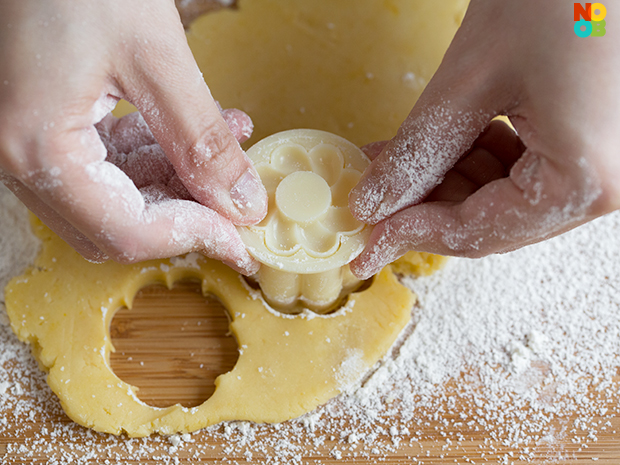
Fit inner mould into tart cutter and press firmly to get the flower design.
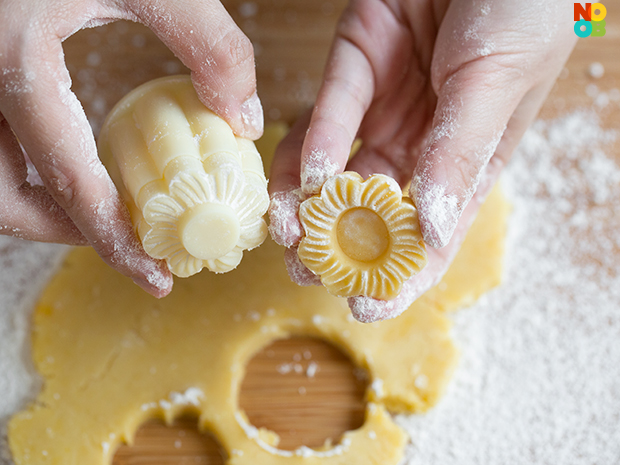
Gently take out the pastry tart from the mould. The petal design should be clearly imprinted.
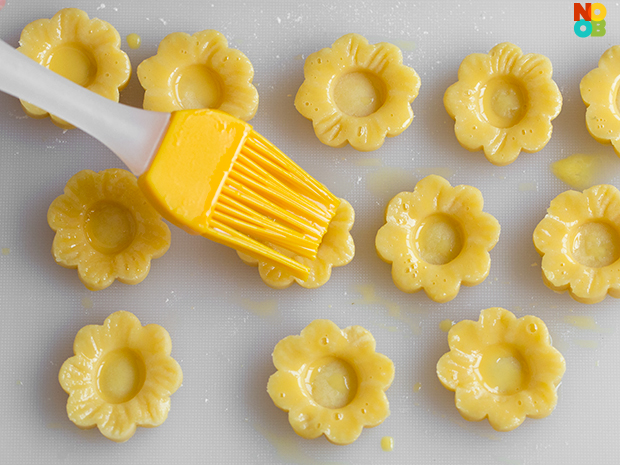
Brush the tart shells with egg wash.
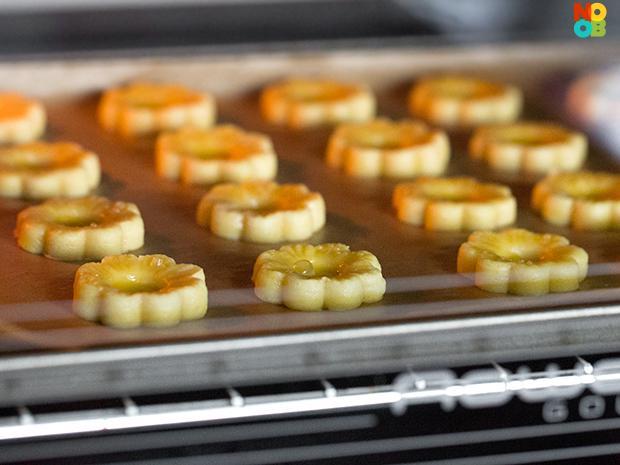
Arrange the egg washed tart shells on a baking tray. Bake for 10 minutes.

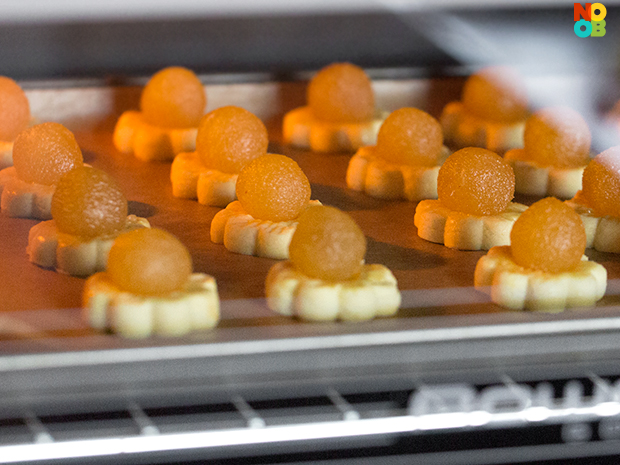
Take out the tray, press pineapple jam ball into cavity of each partially baked tart shell. Continue baking for 5 minutes.
Tip: The reason for baking the tart shell first before adding the jam, is so that the jam do not look dried-out after baking. You can bake the pineapple tart with jam (one step), for 15 minutes, if preferred.

The beautifully baked pineapple tarts (close-up).
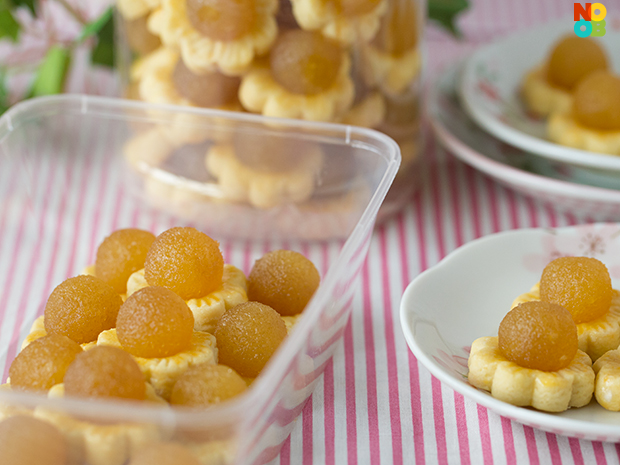
When they are cooled, store the tarts in air-tight containers.
Pineapple Tarts Recipe
Refer to page one of this recipe for detailed step-by-step photos.
Ingredients:
- 125 grams butter cut to small cubes and chilled in fridge
- flour to dust work surface
- 420 grams of pineapple tart jam
(A) Dry Ingredients
- 200 grams unbleached, plain or all-purpose flour
- 20 grams corn flour
- 1/4 tsp fine salt
(B) Egg, water, sugar
- 1 large egg yolk
- 1/2 to 1 tbsp cold water add 1/2 tbsp at a time to get the correct consistency
- 40 grams icing (confectioner’s) sugar
Egg wash
- 1 egg yolk and 1 tbsp water
Tools
- pineapple tart mould (cookie cutter)
- large bowl
- sieve
- cling wrap
- rolling pin
- pastry brush
- baking tray
- parchment paper
Directions:
- Sift (A) to a large mixing bowl. Mix well.
- Rub cold butter into the flour with fingertips until the mixture resembles coarse bread crumbs.
- Add (B). Gently knead to a soft dough (do not over knead).
- Divide dough to 4 small portions. Wrap each portion in cling film, and chill in the fridge for 30 minutes to firm it up.
- Meanwhile, weigh and shape the pineapple jam to 6 gram balls.
- After 30 minutes of chilling, take out one portion of dough, at a time, from the fridge.
- Dust work surface and rolling pin with flour. Roll the dough to 7 mm thickness.
- Dust the mould with flour before cutting out the tart shells. Brush tart shells with egg wash.
- Space tart shell 1 cm apart on baking tray lined with parchment paper.
- Bake the tart shells at 180°C (356°F) middle rack for 10 minutes.
- After baking, place a ball of pineapple jam on the cavity of each tart shell.
- Return tart shells back to oven to continue baking for 5 minutes until golden.
- When the pineapple tarts are cooled, store them in an air-tight container.
